Finger strength testing with a dynamometer: real protocols
How to test finger strength for climbing with a dynamometer: max strength, critical force and fatigue resistance protocols, and how to read the numbers honestly.
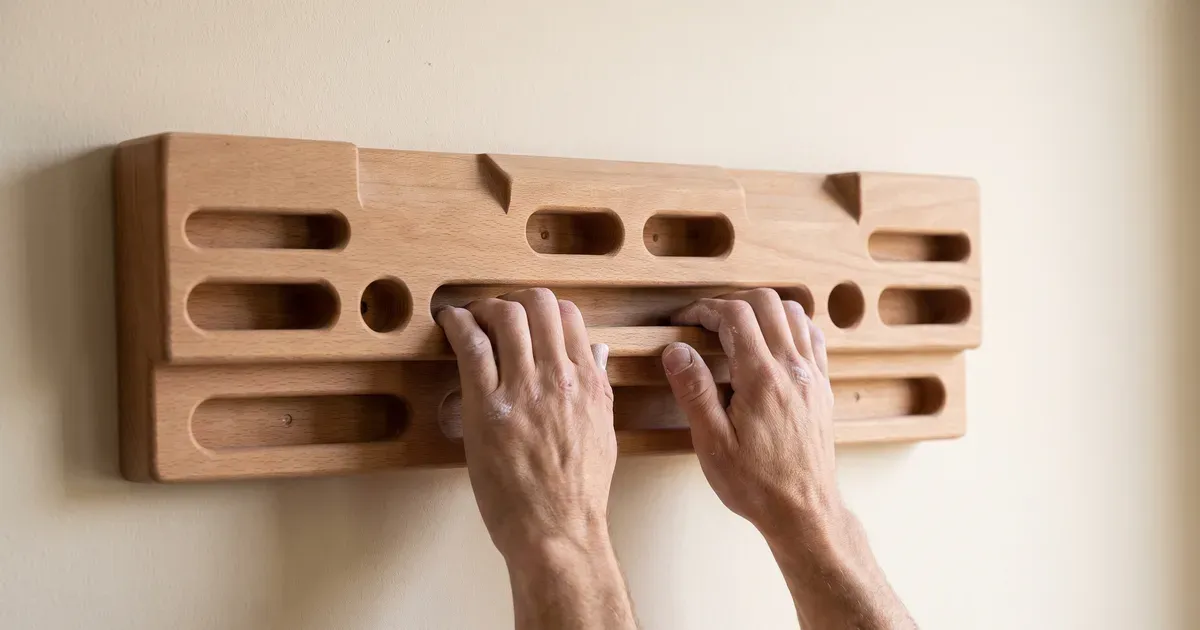
“My fingers have improved a lot this month” is not data. It is a feeling, and feelings depend on skin, sleep, room temperature and how the last attempt went. A dynamometer turns that sentence into a number you can compare across weeks and across athletes.
This guide covers the three protocols actually used with climbers - max strength, critical force and fatigue resistance - how to standardise them so the numbers mean something, and which mistakes make a test measure noise instead of strength.
What a dynamometer measures, and what it does not
A pulling dynamometer (Tindeq Progressor, Entralpi, a load cell with an app) measures the force you apply to a given hold, in a given direction, for a given time. Nothing else.
That means a well-executed test tells you whether the ability to generate force on the measured grip has changed. It does not tell you whether you climb better: technique, route reading, headgame and efficiency never show up on the graph. It is an input metric, not a result.
Even so, it is the most useful metric you can log in climbing, for three reasons:
- It repeats with low variability once the protocol is fixed.
- It correlates reasonably with level for most climbers.
- It catches asymmetries and regressions before they turn into injuries.
Standardise before you measure
A test is comparable only if the conditions repeat. Fix these six variables in writing and never change them between measurements:
- Grip type: full crimp, half crimp or open hand. Pick one and always use the same. Half crimp is the usual choice because it is the least aggressive on the pulleys.
- Edge depth: 20 mm is the de facto standard. Write it down.
- Number of fingers: four fingers or the middle three, depending on what you want to track.
- Body position: seated, standing with the arm at 90°, hanging - whichever, but fixed.
- Warm-up: same protocol, same duration. A short warm-up drops the result by 5-10%.
- Time of day and point in the week: always test after 48 h of rest and at a similar hour.
If you switch the edge from 20 to 18 mm between tests, the number drops and you will not know whether it was the edge or the athlete. That is the most common mistake and the most expensive one: it invalidates months of logging.
Protocol 1 - Max strength (MVC)
The simplest and the most informative. It measures peak force in a short, maximal effort.
- Full warm-up: 10-15 min of mobility and easy climbing, then 3-4 progressive pulls at 50, 70 and 85% of what you believe your max to be.
- Three maximal 5-second attempts, with 2-3 minutes of full rest between them.
- Record the highest peak of the three, not the average.
- Repeat on the other arm. Log both.
It is expressed in absolute kilos and, to compare across athletes, normalised by body weight: peak force / body weight. A value of 0.9 means the athlete pulls 90% of their weight with one hand on that grip.
Practical reading: changes below 3% between tests are noise. From a sustained 5% improvement across two measurements, the strength block is working.
Asymmetries
A between-hand difference above 10% deserves attention: usually it is injury history, strong dominance or a technical pattern (always the same side pulling on crimps). It is not an emergency, but it is a clue worth logging per athlete and reviewing each block.
Protocol 2 - Critical force
Critical force estimates the highest intensity you can hold almost indefinitely without accumulating irreversible fatigue. It is the metric that best reflects local aerobic capacity in the forearm, and therefore what a climber can sustain on a long route.
The standard protocol is intermittent:
- Cycles of 7 seconds of maximal pull + 3 seconds of rest.
- Total duration: 4 minutes (24 cycles).
- Critical force is the average force of the last 6 cycles.
- W′ (available anaerobic work) is also recorded: the area above critical force.
It is usually expressed as a percentage of MVC. Indicative values in trained climbers: 60-70% of max. An athlete with a high MVC and a low critical force (< 55%) has an endurance problem, not a strength problem - and adding more max hangs will not fix it.
This test is demanding: do not schedule it on the same day as the max strength test, and keep it out of high-load weeks.
Protocol 3 - Fatigue resistance
Simpler than critical force and good enough for routine tracking: it measures how much force drops during a sustained effort.
- Continuous pull at 60% of MVC until force falls below 50% of MVC.
- Record time to failure and the shape of the decay curve.
It is useful precisely because it needs no analysis software: time to failure, compared against itself every 4-6 weeks, already tells the story.
How often to test
| Phase | Test | Frequency |
|---|---|---|
| Base | MVC | Start and end of the block |
| Strength | MVC | Every 3-4 weeks, on a deload week |
| Specific | Critical force or fatigue resistance | Start and end |
| Taper | None | Do not test, climb |
Testing more often does not give more information: it gives more noise and more fatigue. And during the taper a max test is an unplanned strength stimulus - exactly what you do not want three days before the project.
This calendar fits naturally into the block structure described in how to plan a climbing season in mesocycles: one test to open the block, one to close it, and the next block decided by the difference.
Mistakes that invalidate the log
- Testing fatigued. A test after two days of climbing measures fatigue, not strength. Minimum 48 h of rest.
- Changing grip type or edge depth between measurements. It breaks the historical series.
- Keeping the average of the attempts in a max strength test. The max is the max.
- Using the number to compare different athletes without normalising by weight and using the same grip.
- Not recording context: skin, sleep, pain, week of the mesocycle. Without context, an isolated low value cannot be interpreted.
- Testing because it is scheduled, with no decision attached. If the result will not change the plan, there is no need to measure.
From the number to the decision
A test only counts if it closes a loop. Three examples of a direct decision:
- MVC up, critical force flat → the athlete is strong and gets tired: next block, specific endurance.
- MVC flat after four weeks of max work → the stimulus was insufficient or fatigue was too high; review weekly volume before raising intensity.
- An 8% drop in one hand with associated discomfort → stop the max stimulus on that side and log the discomfort as an incident, not as a feeling.
With one athlete this fits in a notebook. With fifteen, the problem stops being measurement and becomes seeing everyone’s trend at once - the same reason many coaches end up leaving spreadsheets behind.
If the dynamometer you own is a Progressor, the protocols in this article are captured straight from the app: how the Tindeq Progressor integration works, what is measured per hand, and what still works with no device.
ClimbrLab is climbing coaching software, and it connects to your dynamometer over Bluetooth, stores every measurement in the athlete’s history and compares tests across blocks automatically. Early access is open for coaches.
Keep reading
Initial assessment of a climber: what to measure on day one
The screening questionnaire before taking on an athlete, which tests make a useful baseline, what not to test yet, and why protocol beats the number.
Quantifying training load in climbing: what to actually use
Climbing has no unit of training load. What each proxy captures (hours, sRPE, moves), why you need two axes, and the weekly minimum that survives February.
Shoulder and elbow: the climbing injuries you're not watching
The shoulder is now the second most injured area in climbing and almost never gets logged. Why it hides, which sign gives it away and what prevention works.
Do you coach climbing athletes?
ClimbrLab is software for climbing coaches who work with several athletes. You plan sessions and cycles, your athletes log workouts and routes from their app, and you see their finger strength (with Tindeq), training load, injuries and progress in one dashboard, with chat built in. If there are several coaches, Team mode lets you share a library and split athletes between you.
Tell us how you coach and we’ll get back to you with access.